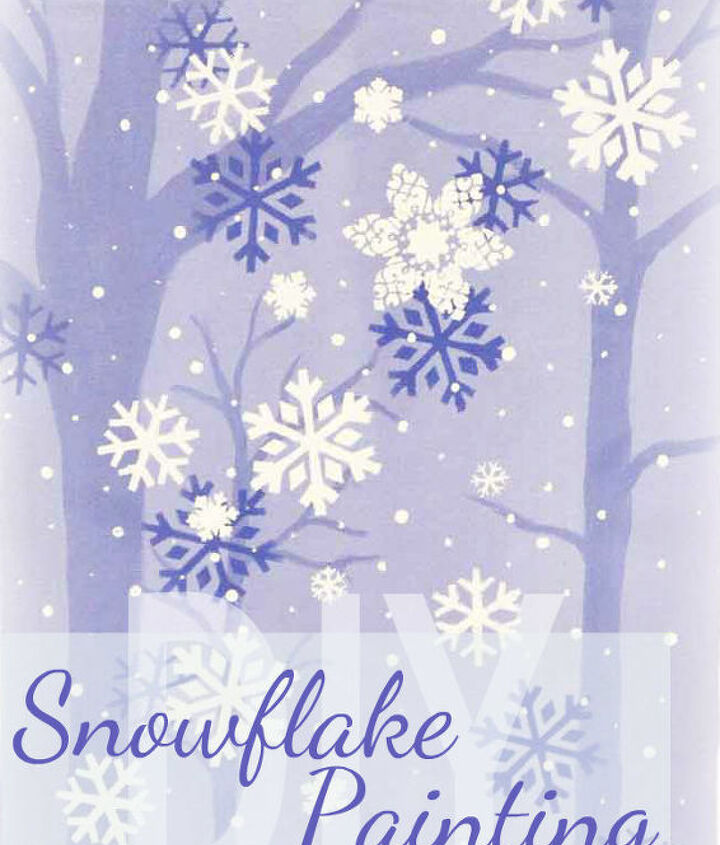
There’s something magical about winter, and adding painted snowflakes to your windows can bring that magic indoors. Whether you're a seasoned artist or just looking for a fun family activity, this guide will show you how to create stunning snowflake designs that transform your home into a winter wonderland. So grab your paintbrushes and let’s dive into the world of window snowflake art!
Winter is here, and with it comes the perfect excuse to get creative. Painting snowflakes on windows has become a popular trend, especially during the holiday season. This simple yet effective decoration adds charm to any space and is easy enough for beginners to try. Plus, it’s a great way to bond with family and friends while enjoying the festive spirit.
Before we jump into the nitty-gritty details, let’s talk about why painting snowflakes on windows is such a big deal. It’s not just about aesthetics; it’s about creating memories and turning your home into a cozy retreat. With the right tools and techniques, anyone can achieve professional-looking results without breaking the bank. So, are you ready to turn your windows into a canvas of winter beauty?
Read also:Drakes Ethiopian Girlfriend The Story Behind The Headlines
Why Paint Snowflakes on Windows?
Painting snowflakes on windows isn’t just about decoration; it’s an art form that connects us to the beauty of nature. Each snowflake is unique, just like your design, and it adds a personal touch to your space. This activity is perfect for those who want to add a festive vibe without going overboard. Plus, it’s temporary, so you can easily remove it when the season ends.
Here are a few reasons why painting snowflakes on windows is worth your time:
- It’s budget-friendly and requires minimal materials.
- You can customize the design to fit your personal style.
- It’s a fun activity for kids and adults alike.
- It creates a cozy, inviting atmosphere in your home.
And let’s not forget the satisfaction of seeing your hard work come to life. Imagine looking out of your window and seeing a flurry of painted snowflakes dancing across the glass. It’s like having your own winter wonderland right at home.
Materials You’ll Need
Before you start painting snowflakes on your windows, make sure you have the right materials. You don’t need much, but having the right tools will make a huge difference in the quality of your designs. Here’s a quick list of what you’ll need:
- Frosting spray or window paint
- Paintbrushes (various sizes)
- Stencils (optional)
- A clean cloth or paper towels
- Protective gloves (to avoid getting paint on your hands)
When choosing paint, look for products specifically designed for windows. These paints are easy to apply and remove, making them perfect for temporary decorations. If you’re working with kids, consider using non-toxic options to ensure safety.
Step-by-Step Guide to Painting Snowflakes
Now that you have your materials ready, it’s time to get started. Follow these simple steps to create beautiful snowflakes on your windows:
Read also:Meet The Down Syndrome Guy With Glasses Inspiring Stories Facts And Insights
Clean Your Windows
Cleaning your windows is the first and most important step. Dust, dirt, and grease can affect how the paint adheres to the glass. Use a glass cleaner and a lint-free cloth to ensure your windows are spotless before you start painting.
Choose Your Design
Decide on the type of snowflake you want to paint. You can go for a classic six-sided design or get creative with unique patterns. If you’re not confident in freehand painting, use stencils to help you create perfect shapes.
Apply the Paint
Using a fine brush, gently apply the paint to your window. Start with the center of the snowflake and work your way outwards. Be patient and take your time to ensure each line is smooth and even. If you’re using frosting spray, hold the can about 12 inches away from the glass and spray in short bursts.
Let It Dry
Give the paint enough time to dry completely before touching it. This usually takes about 30 minutes, but check the instructions on your paint for specific drying times. Once it’s dry, you can add additional layers for a more vibrant look.
Tips for Perfect Snowflakes
Painting snowflakes on windows might seem easy, but there are a few tips and tricks that can help you achieve professional results:
- Practice on a piece of paper before painting on the window.
- Use a light touch when applying paint to avoid smudging.
- Work in small sections to maintain control over your design.
- Experiment with different colors to create a stunning effect.
Remember, perfection isn’t the goal here. Each snowflake should have its own character, just like real snowflakes. Don’t be afraid to make mistakes; they often lead to the most beautiful creations.
Common Mistakes to Avoid
While painting snowflakes on windows is a fun activity, there are a few common mistakes that can ruin your masterpiece. Here’s what to watch out for:
- Using too much paint, which can cause streaks and smudging.
- Not cleaning the windows properly before painting.
- Rushing the drying process, which can lead to smudging.
- Forgetting to remove the paint before it becomes permanent.
By avoiding these mistakes, you’ll ensure your snowflake designs look their best and last as long as they’re supposed to.
Removing Painted Snowflakes
One of the best things about painting snowflakes on windows is that it’s temporary. When the season is over, you can easily remove the paint without damaging your windows. Here’s how:
For Window Paint
Use a damp cloth or paper towel to gently wipe away the paint. If it doesn’t come off easily, try using a small amount of rubbing alcohol to loosen the paint. Avoid using harsh chemicals, as they can scratch the glass.
For Frosting Spray
Frosting spray is even easier to remove. Simply use a clean cloth and warm water to wipe it off. You might need to scrub a little harder in some areas, but it should come off without any issues.
Always test a small area first to ensure the removal method works effectively without damaging your windows.
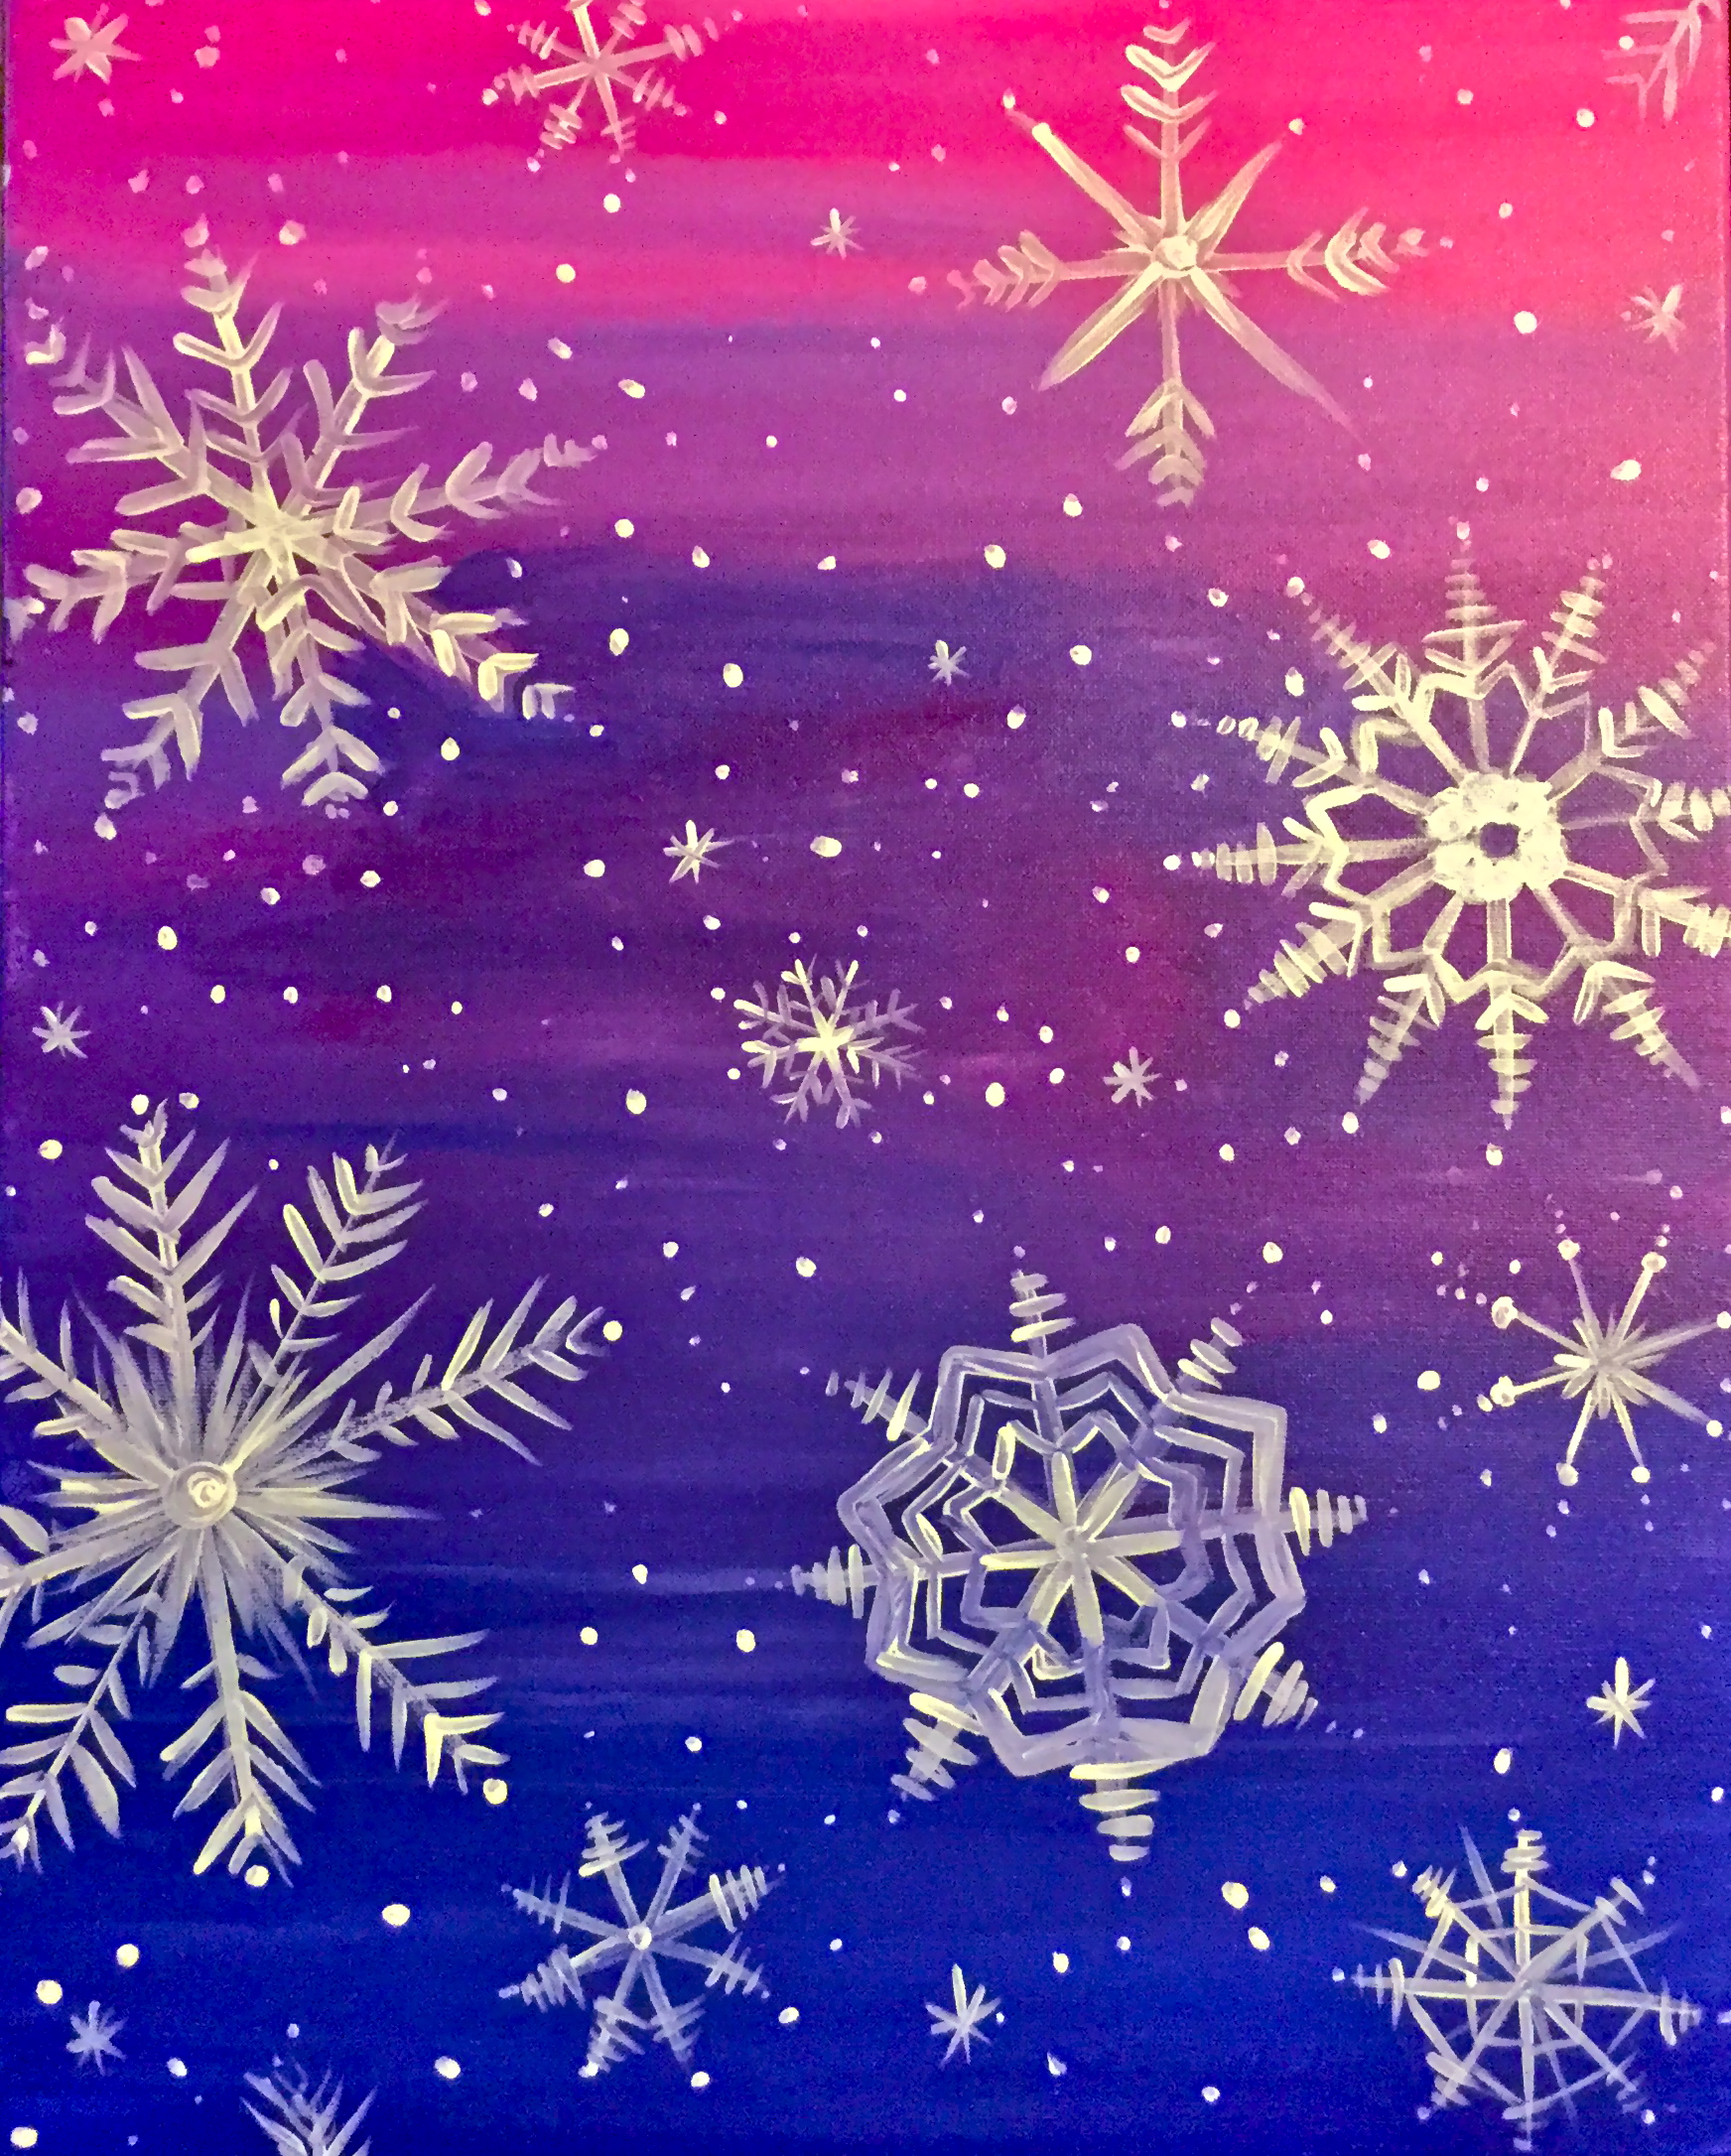
Creative Ideas for Snowflake Designs
Once you’ve mastered the basics, it’s time to get creative with your snowflake designs. Here are a few ideas to inspire you:
- Create a snowflake garland by connecting several designs across your window.
- Add a touch of glitter to your paint for a sparkling effect.
- Paint snowflakes in different sizes to create depth and dimension.
- Combine snowflakes with other winter elements, like icicles or snowmen.
Let your imagination run wild and see where it takes you. The possibilities are endless when it comes to window art.
Benefits of Painting Snowflakes on Windows
Beyond the aesthetic appeal, there are several benefits to painting snowflakes on your windows:
- It boosts creativity and encourages artistic expression.
- It’s a great way to spend quality time with family and friends.
- It adds a personal touch to your holiday decorations.
- It’s an eco-friendly alternative to traditional decorations.
Plus, it’s a skill you can continue to develop and improve over time. Who knows? You might just discover a new passion for window art.
Expert Tips from Professional Artists
For those who want to take their snowflake painting to the next level, here are a few expert tips:
- Study real snowflakes to understand their structure and symmetry.
- Experiment with blending colors to create a gradient effect.
- Use a ruler or straight edge to ensure your lines are precise.
- Take inspiration from other artists and incorporate their techniques into your work.
These tips will help you refine your skills and create designs that stand out. Remember, practice makes perfect, so keep experimenting until you find what works best for you.
Conclusion: Transform Your Windows into a Winter Wonderland
Painting snowflakes on windows is more than just a decoration; it’s a way to bring the magic of winter into your home. With the right materials, techniques, and a little creativity, anyone can create stunning snowflake designs that transform their space. Whether you’re doing it for the holidays or just because, this activity is sure to bring joy and inspiration.
So, what are you waiting for? Grab your supplies and start painting those snowflakes. And don’t forget to share your creations with others. Who knows? You might just inspire someone else to try it too. Happy painting, and may your winter be filled with beauty and wonder!
Table of Contents
- Why Paint Snowflakes on Windows?
- Materials You’ll Need
- Step-by-Step Guide to Painting Snowflakes
- Tips for Perfect Snowflakes
- Common Mistakes to Avoid
- Removing Painted Snowflakes
- Creative Ideas for Snowflake Designs
- Benefits of Painting Snowflakes on Windows
- Expert Tips from Professional Artists
- Conclusion